VBA (Visual Basic for Applications) is a powerful tool in Excel that allows users to automate tasks and enhance functionality. In this guide, we will walk you through the process of inserting a module into your Excel VBA project.
Step 1: Accessing the Developer Tab
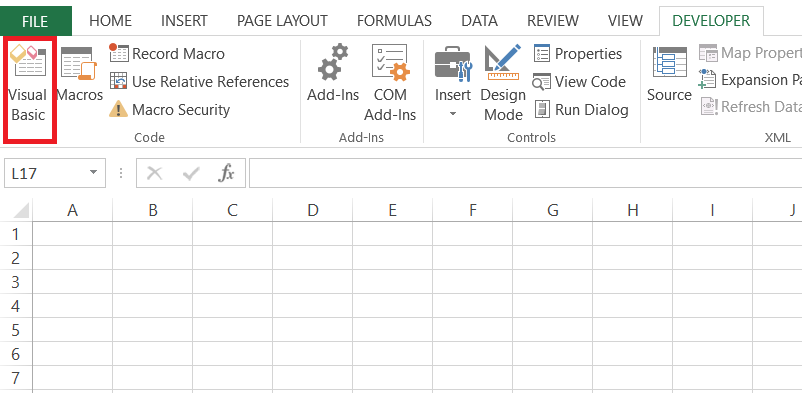
Go to the "Developer" tab on the Excel ribbon. If you don't see the Developer tab, you may need to enable it in Excel's options. Check this previous post to learn how to enable the Developer tab in your Excel application.
How to show the Developer tab in Excel
Step 2: Opening the VBA Editor
Click on "Visual Basic" in the Developer tab. This action opens the VBA Editor, where you can create and manage your VBA code.
Step 3: Selecting the Workbook
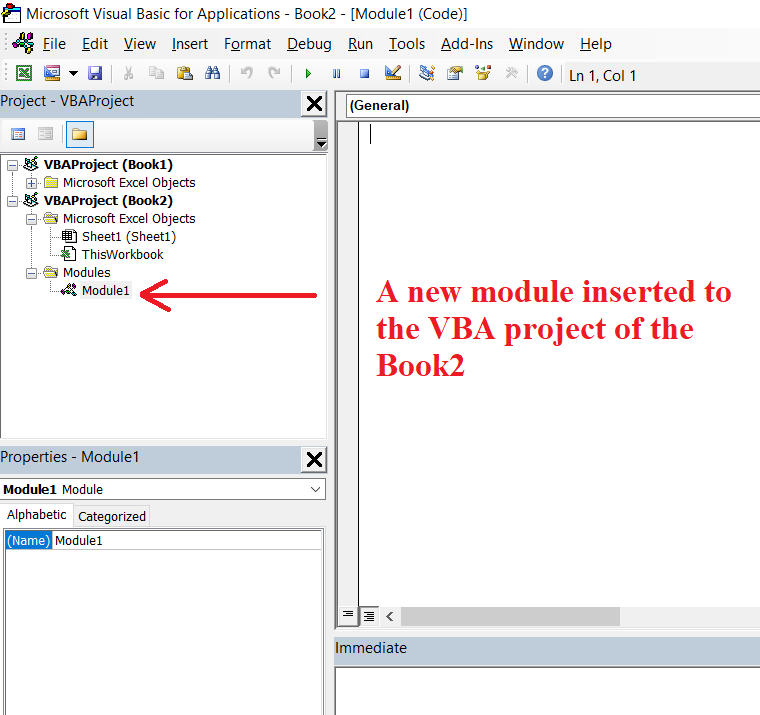
In the Project Explorer window on the left, click on the workbook for which you want to insert a module. This step is crucial if you have multiple workbooks open.
In this example I’m going to insert the module to the VBA project of the Book2 file.
Step 4: Inserting a Module
From the menu, select "Insert" and then choose "Module." This command adds a new module under the selected workbook in the Project Explorer.
Step 5: Opening the Module
When you insert a new module, that module will be automatically open in the central editing area. If you have multiple modules in one or more VBA projects and if you want to add/edit or view code in a particular module, then double-click on the module you want. This action opens that particular module in the central editing area, allowing you to add/edit or view your VBA code.
Inserting a module provides a foundation for incorporating custom automation and functionalities into your Excel projects. With this guide, you can now easily insert VBA modules into your workbooks.

